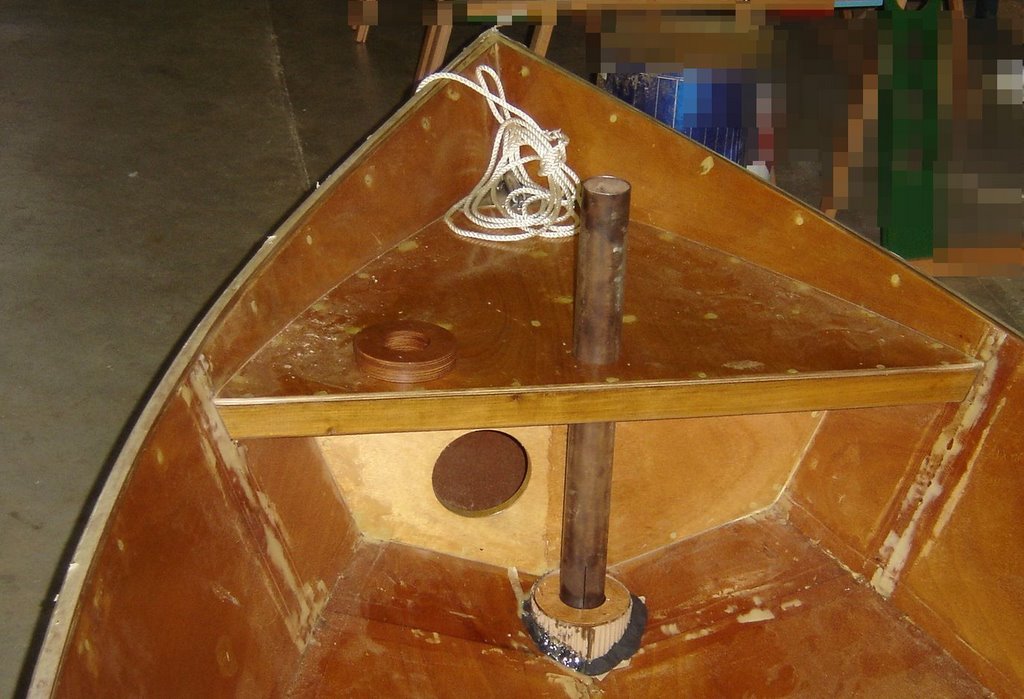
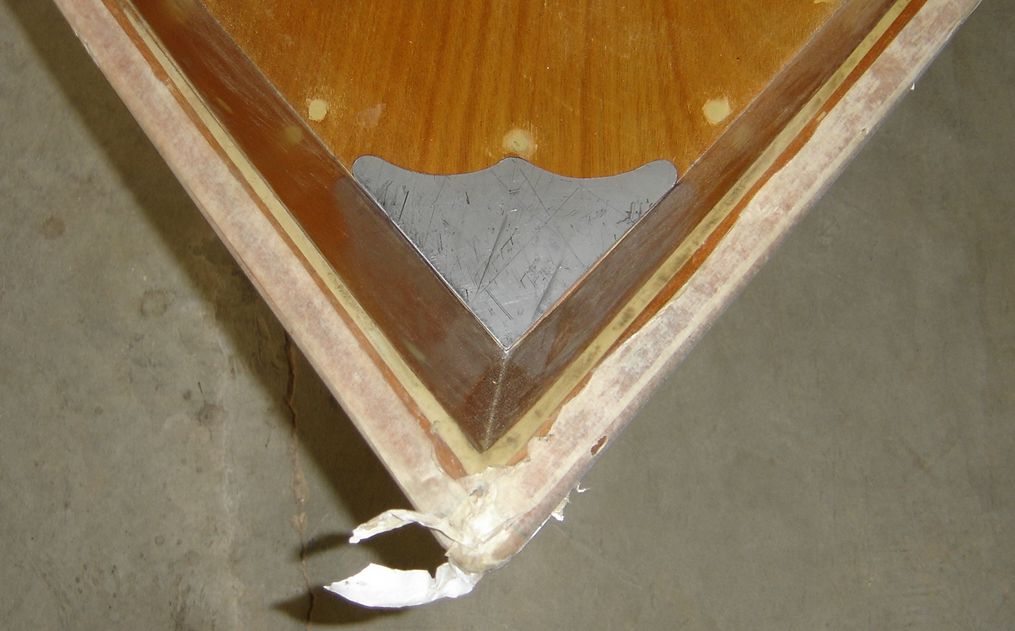
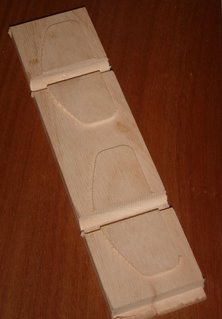
Here the collar for the mast step partner can be seen, installed under the bow seat. One can see the laminations through the hole in the seat top. This will hold the mast upright, while the mast step in the bottom of the boat will carry the weight of the mast and sail.

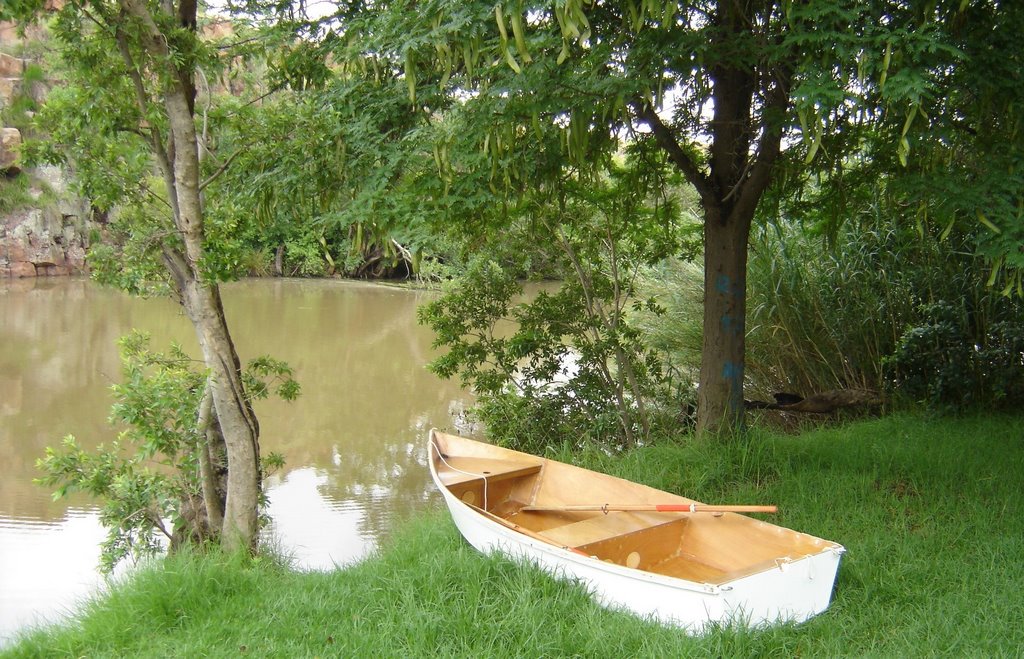
Here's Juliana at the water's edge. Oars loaded, ready for launch.

Rowing made to look easy. It's not too difficult, but it requires some skill to do it efficiently.

It can carry a dog, too!

On inspection, the mast step seems to be well-joined to the hull. It'll take some work to clean up nicely, but it seems sound.
Installing the mast step. This looks very ugly, but it is work in progress. The steel pipe is there to align the step at the bottom with its partner in the bow seat. The brown cardboard on the bottom of the boat is a dam for polyurethane resin, that will stick the step to the bottom of the boat. The black stuff is plasticine that seals the dam to the bottm.

Here's a picture of Juliana, ready to row!

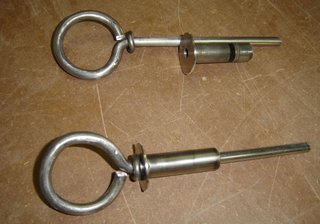
The bow ring attached to the dinghy. This picture shows the circlips that hold the shaft to the mount. 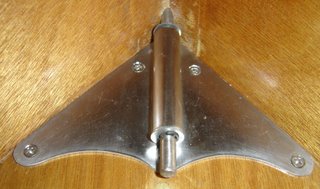
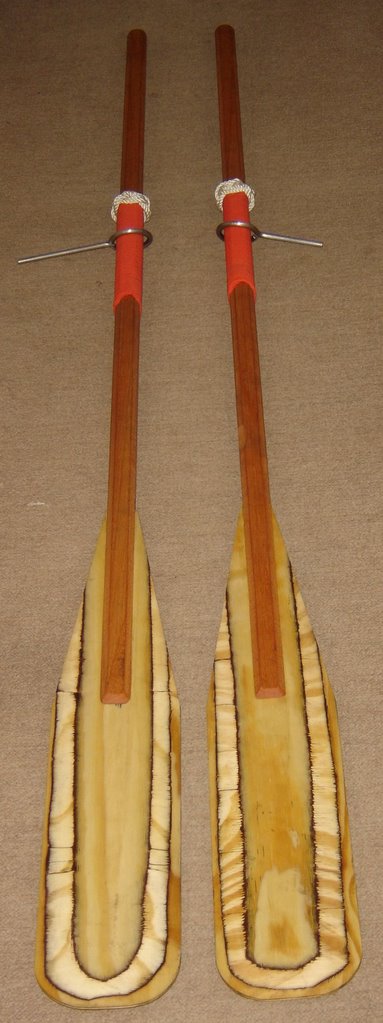
 A completed pair of oars for my Argie 10 row/sail/motor dinghy. The sleeve is made of red webbing tape, and the "button" is a Turk's Head made in soft rope. Once again, the webbing tape is not traditional at all, but it should do the job of protecting the oar loom from chafing on the rowlock. The oars are likely to see hard work, because they will mostly be used by amateurs, and therefor the flat blade with a blunt end is best. Performance absolutely not guaranteed.
Trial-fitting the oars. The rowlock rings are a bit too small for the job, so I'll make another pair.
It looks romantic already!

The rowlock sockets installed. The outside holes are screws holding the block down temporarily. The inside holes are for stainless steel pins that will transfer the force from the oarlock to the boat.

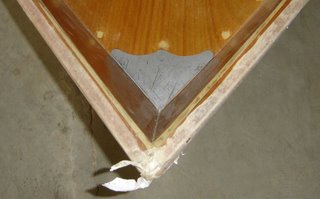
Installing the bow ring. First I screwed down the mounting plate.

The bow ring fitted. This view shows how it works, the shaft of the ring passing through the stem of the boat and secured by the mount on the bow seat.

The view of the bow ring from the outside. I think the protrusion will be a bit less on the final installation.

The metal part of the rowlock completed. Not as shiny as it could be, but it will do the job.
Shaping the oar blades. First get the outline right, by removing the excess plywoond with a bandsaw and giving it the final shape on a belt sander.
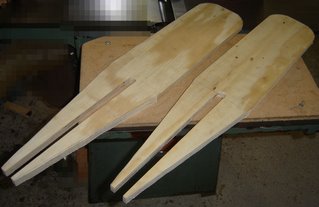
Next comes streamlining, done on the belt sander. There's a surprising amount of wood that needs to be removed to get to this point. The quality of the workmanship here is not of the best.

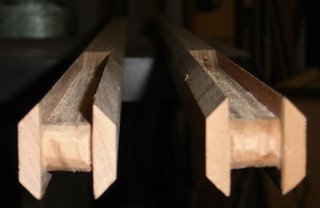
The square looms need to be nearer to round. I've made it octagonal, but not a regular octagon, to save as much wood around the groove as possible.
Small stainless steel pins fix the blade to the shaft.
 The completed pair of oars. I don't think there is much about these oars that is typical. The blade is separable from the shaft, and is made of plywood. It is oiled, rather than varnished. The aim has been to produce an acceptable oar in a reasonable amount of time.
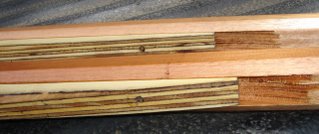
The real set of oars being made. First I made a set of grooves in the loom, by repeated grooving on a circular saw.

Here's the blades, cut from 18mm plywood, with a notch that fits on the loom. Everything is still very rough.

Testing the fit of the blade to the loom, and showing the relative size of the oars and the dinghy.

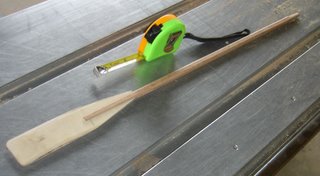
I made small oar to test a concept. It is about a quarter the size of the real one. It's very cute, but not very neat.
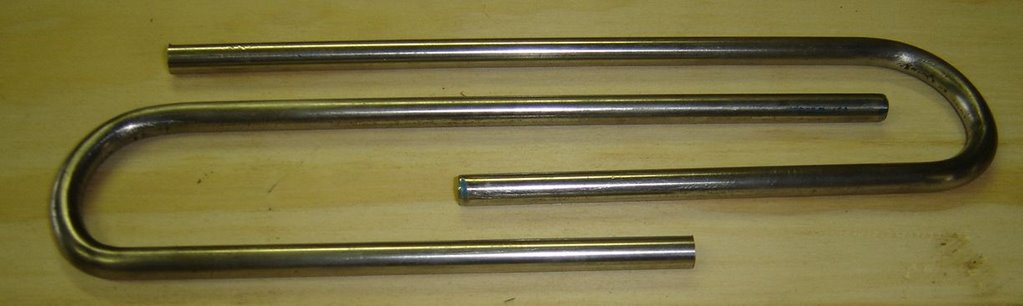
In one afternoon I made and installed the transom rings. Here are the u-rods, bent to size. They are not very smoothly round, but they are identical enough that I could drill the holes on measurement.

The transom rings intstalled. This is a bit of an experimental approach. The rings are not bolted or screwed at all but glued in with aircraft epoxy. It would be interesting to see how well it works.

I see a pair of oars. What do you see?

Here's the bow ring's base plate with holes for screwing it down. With a little bit of luck it won't interfere with the screws already there.

Here's the rowlock parts. I can now start assembly. A start would be to weld the bearing surface to the rowlock tube.

Here's the beginning of a pair of oars.

Here's some progress on the rowlocks. These outlined blocks have been machined on a CNC router. They will be cut out and screwed to the inside of the gunwale.
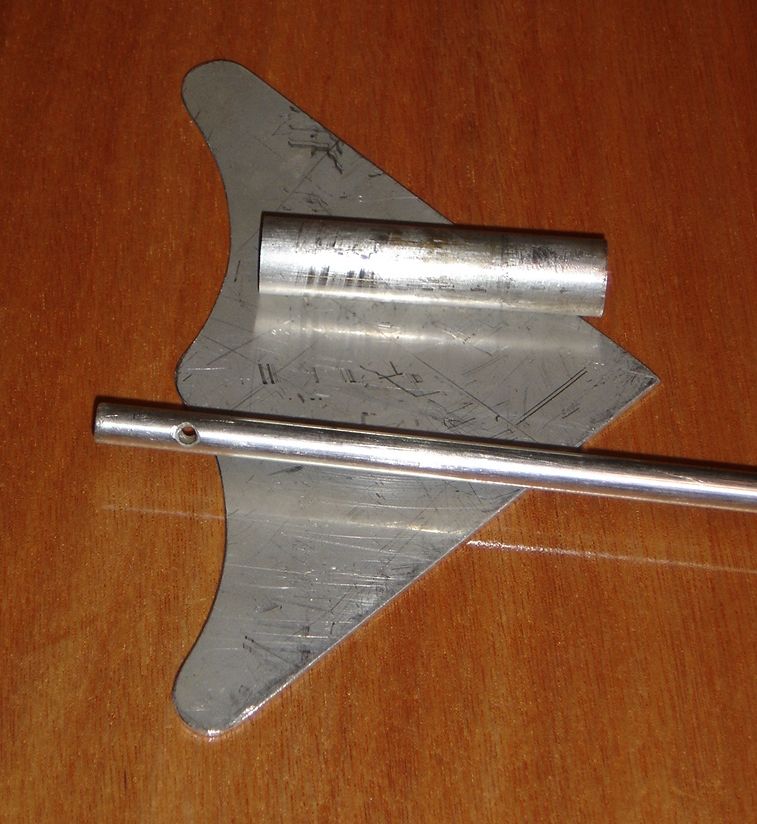
Progress on the bow ring. The cylinder will be welded to the mounting plate, and the shaft of the hook will pass through the cylinder, and be secured at the end with the hole in it.

Today I started making a bow ring for Juliana. The plans specify a u-bolt fitted through the stem, but I don't have a suitable u-bolt, and I think the plans just want to hide the ugly nut-end of the u-bolt inside the flotation compartment. I'm planning on mounting a swivelling ring on the bow seat.
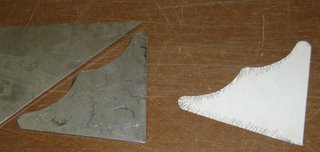
Here's the swivel mount plate cut out from the blank metal:

Roughing out the shape. The white object is a paper template.
The swivel base plate cut to shape and being fitted to the bow seat top. About five screws will secure the plate.

Here's Juliana in storage, patiently waiting through the winter.
She was very dirty with dust. Here's some pidgeon footprints in the dust on her bottom. Amazingly, no droppings or nests. I guess that the paint might be too slippery.

Here she is, before and after cleaning. I first had to sweep off all the dust with a broom, and then wiped her down with a wet rag. The paint is still in very good condition.


Some stops added to the daggerboard and rudder blade. Stainless steel rod with rounded ends, held in place with cyanoacrylate adhesive.

A pair of oarlocks, daggerboard stops, rudder stops, saddles and other hardware. OK, maybe not in the final shape yet!