BoatBlog
Friday, January 20, 2006
Saturday, January 14, 2006
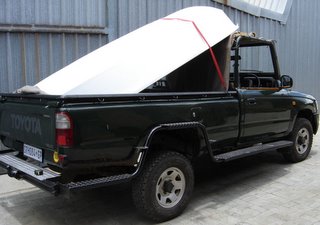 Launch day! Load the boat on the bakkie.
 Take her to the local picnic spot.
 Build a floating jetty.
 Have a sumptuous lunch.
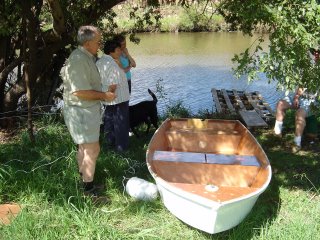 Take the boat to the water's edge.
 Slide her in.
 She floats!
 Fun on the water.
 She leaks like a sieve!
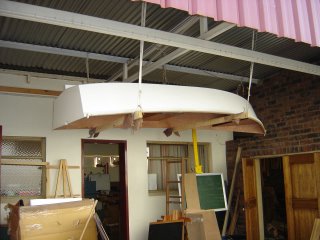
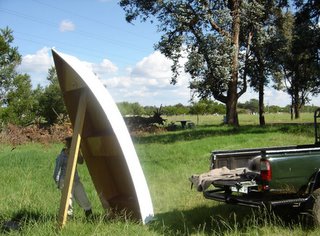 Let her dry in the sun for a while.
Friday, January 13, 2006
 A thermometer. It is not really an essential tool, but paint and glue drying depends on the temperature, so it is good to know what it is. As you can see, it's cooled down nicely.
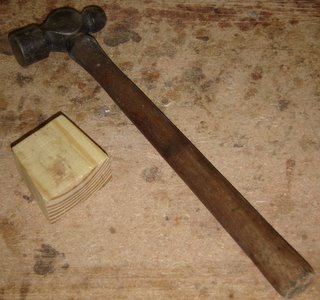 A hammer. A purist would say a mallet would be more appropriate (there are no nails in this boat), but I found a hammer and a striking block quite perfectly suitable to persuade the odd piece into position.
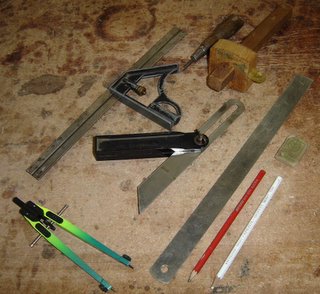
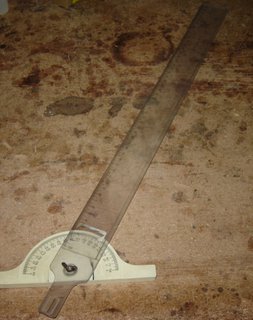
Marking and measuring tools:
- Sliding square
- Bevel gauge
- Steel ruler
- Awl
- Marking gauge
- Compasses
- Pencil
- White pencil
- Eraser
 Pliers and cutters, used for twisting and trimming the copper wire ties. Also used for removing staples.
 Electric router. I've only used one cutter bit from the selection available, and used it to round the edges on the shear strakes and other corners.
 An air grinder. Probably the crudest of tools to use on a boat, but useful for removing quantities of wood from pieces after they have been fitted.
Tuesday, January 10, 2006
Monday, January 09, 2006
 The first layer of white paint is of course there solely to show one all the spots that still need filling and sanding. This is a secret that is securely kept from children and beginners to keep them from losing heart.
Sunday, January 08, 2006
 Planes and scrapers. Top is a block plane, very useful for trimming the odd piece of plywood or timber. Middle is the spokeshave, which we've met before in planing the shear strakes. Bottom is a wide cabinet scraper, good for removing small amounts of wood, or paint and glue.
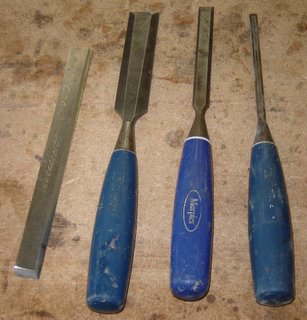 I used chisels in its traditional role only for carving the nosepiece. Otherwise useful for removing drips of glue and paint. The metal obling on the left is a power planer blade, which I learned excells in removing polyurethane adhesive foam-out.
 We call this tool a blow-pipe. All it is is a connector for the air hose, that sends out a powerful jet of compressed air when it is plugged into the connector. It is very useful for blowing dust and chips and scrapings out of the boat or off the table. Noisy and inefficient, but gets the job done.
 Polyester resin, glassfibre tape, catalyst and scissors. The only things missing are the working resin container and brush.

Various temporary tools. From left, a device for aligning the skeg, a set of chocks for the bottom, and a block that aids the installation of the shear strakes.

Orbital sander. An air-powered device for sanding open surfaces. Unfortunately not much good near inside edges.
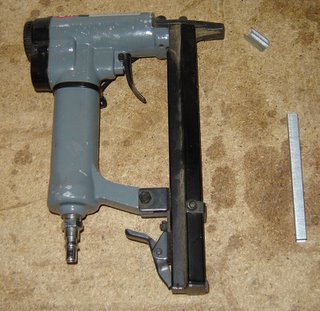
Pneumatic stapler. Staples of this size are not strong enough to do any real work on a boat, but I used it to staple plywood to timber as a temporary holding mechanism, until I had time to put in screws. Also very useful for making small tools and stapling sanding paper to blocks.

Mixing plate and putty knife, with body putty and catalyst. Body putty is a polyester resin pre-mixed with a filler. It is grey in colour, and looks a bit like glazing putty. However, it is a catalysed product, meaning that it will not dry in air, but when mixed with a few drops of catalyst it hardens within a few minutes. I used it to fill in screw holes, small dents and dings and staple holes.
Glass makes a good mixing surface, because it is smooth and easy to clean.
Procedure:
- Sand the area that needs smooting, and mark the places that needs filling.
- Remove a working amount of resin from the tin and put it on the mixing plate. Amounts differ, but a dessertspoon full is about a workable amount.
- Add a few drops of catalyst to the putty. The more drops you add the shorter the working time you have, but the faster it will harden.
- Mix the putty and the catalyst.
- Without pausing or spending too much time on one place, use the putty knife to press putty into all the holes, and smooth it down.
- When the putty on the plate starts to harden (it happens surprisingly abruptly!) stop working.
- Scrape the excess putty from the plate and discard it.
- Clean the plate and putty knife, ready for the next round.
 A cabinet scraper. This is a tool a bit like a chisel with a very large rake angle. I found this a very useful tool for cleaning up and finishing. It will scrape off accidental drops of fibreglass resin, and clean up the foam-out of the polyurethane adhesive. When it is newly sharpened it is excellent for feathering fibreglass/wood junctions to a smooth joint.

The pneumatic drill (red) and screwdriver (blue) that I used to insert the screws. In the inset is a close-up of the countersinking bit that I used to drill the holes. All the screws hold plywood to timber. The procedure would be:
- Mark the position of the holes.
- Make a starting pit for every hole with an awl.
- Drill the pilot holes.
- Clear burrs off the pilot holes.
- Apply adhesive.
- Fit the timber piece and clamp in place if neccesary.
- Drill the holes into the timber and countersink the part in the plywood. Using the countersinking bit this is done in one movement.
- Screw in the screws.
In cases where the pilot holes had been drilled at the machining stage I would start at the
 I've decided to post pictures of the tools I used, and write what I used them for.
Safety first! Here's a picture of the safety gear. The face shield is for keeping flying chips and sawdust from my face, and paint spray from my glasses. Ear protectors are used when working with pneumatic and power tools. Apart from protecting the ears, it reduces the fatigue that arises from long periods in noisy environments. The dust mask keeps sanding dust from the lungs and paint spray from the nose.
Saturday, January 07, 2006
Friday, January 06, 2006
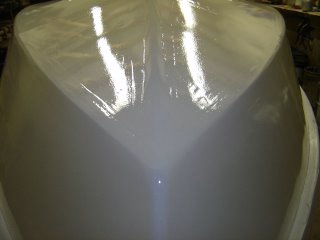
 The dinghy with a first layer of primer on the outsides. This means all the holes and dings have been filled in, and the whole is as smooth as a baby's bottom. Theoretically from here it is a simple sand/paint/repeat process until it is done. But first I need to get the insides and the bottom to the same state.
Those shear strakes look lovely now that they are varnished. I'm not sure I'll be able to put paint on them.
 The nosepiece, hacked approximately to shape. It is rough enough to suggest it might have been done with the traditional adze, but it was the modern sabersaw.

Thursday, January 05, 2006
 Glueing in the nosepiece, using aircraft epoxy adhesive. Yes, that's the green stuff! It is a two-part system where the resin is coloured blue and the hardener yellow. When the adhesive is mixed properly it is a uniform green colour.
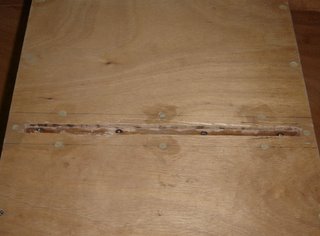 Sorry, I was a bit optimistic. Still more woodwork: here the daggerboard slot has been hacked out through the midships seat top.
